Include Model
The Include button on the DMN ribbon allows you to include existing DMN models in your current model. You will then be able to reuse decisions, input data, BKMs, and decision services from those included models.

To prevent collisions between names in the included and including models, included models are given a prefix, meaning references to their elements and types in the including model are written as <prefix>.<name>. By default, the prefix is the included model name, but you are able to modify it, since the prefix ideally should be short. For example, decision Decision1 from included model XYZ will be referenced in the including model as XYZ.Decision1.
It is possible to include a model without a prefix by deleting the default prefix name. Doing that displays Included locally as its prefix. In that case, collisions are possible and any included elements colliding with a local element are marked with a yellow warning lock. Yellow warning locks can be corrected by renaming the local element to remove the collision. Colliding elements are ignored and not included when automating the decision.
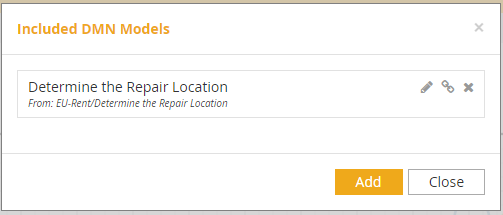
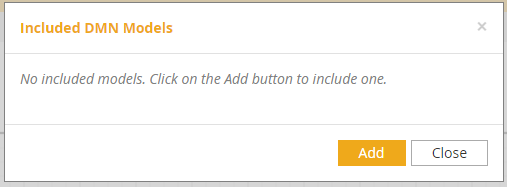
When you click on the Include button, you start with the following dialog, which lists any models already included:
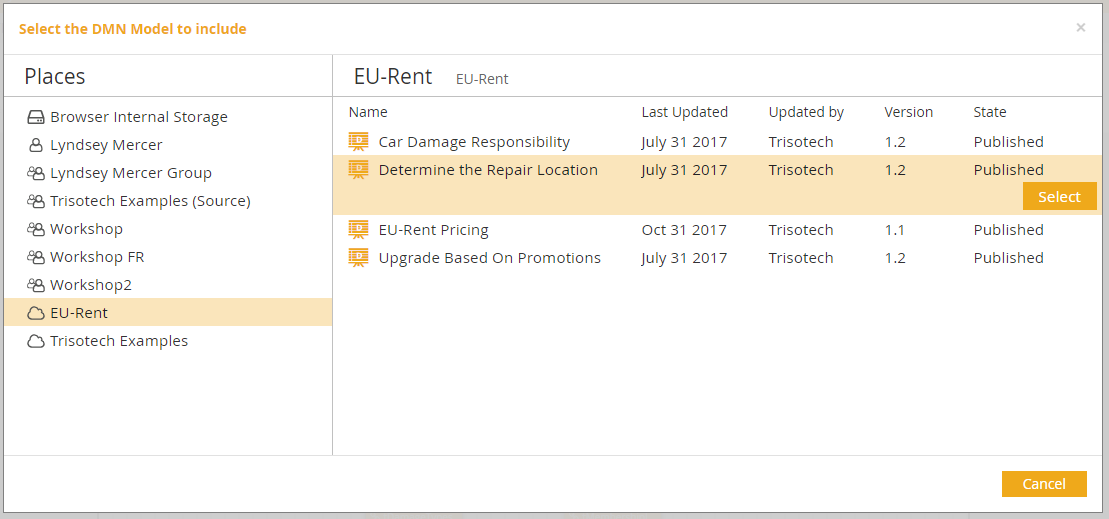
Click on the Add button and browse the places in your workspace to find the model you want to include. Then click Select.
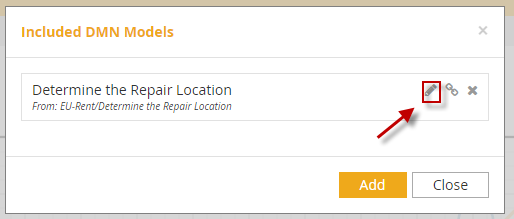
The newly included model will appear now in your list. Its prefix is the model name. Here it’s a long one, so a good idea to use the pencil icon to rename it. If you edit to an empty name, the model will be included locally, subject to the collision issues discussed above.