Swimlanes
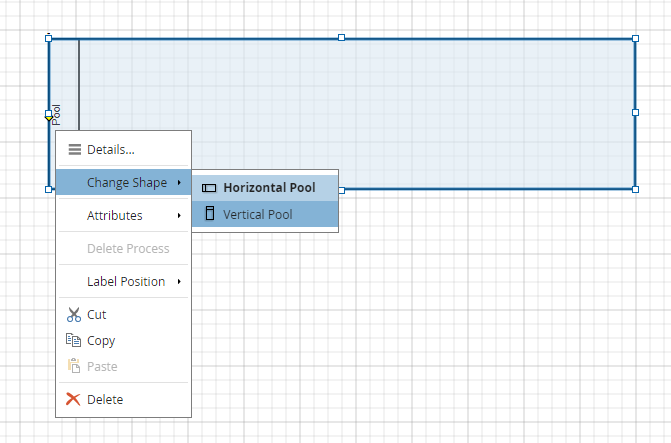
Swimlanes, or more correctly, Lanes, are used to indicate the role or organizational unit performing its enclosed activities. It is most common, but not necessary, to enclose lanes in a pool shape.
How to add lane to a pool
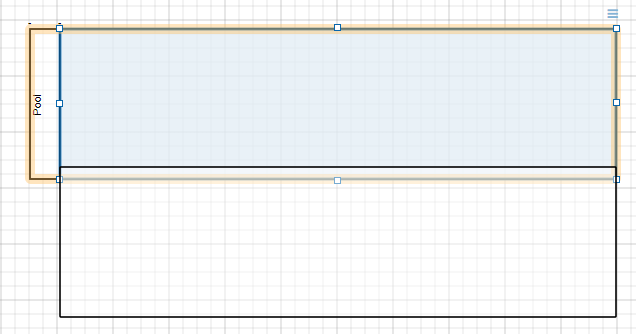
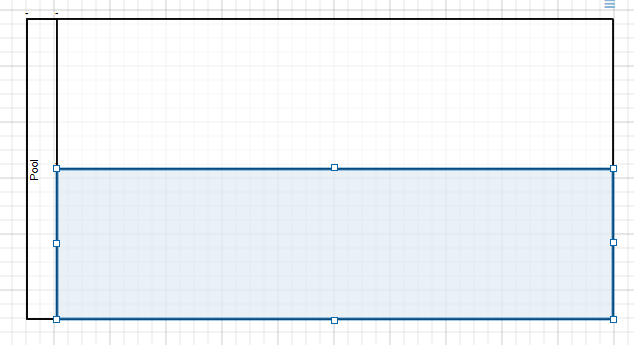
The first lane is easy to add: simply drop it inside the pool as you would for any other node. To add another lane to the pool, the mouse cursor must be over the pool’s header. To add it above the first lane, move the cursor on the top part of the header. To add it below the first lane, move the cursor in the lower part of the header (see the following picture).

The lane ghost will show you where the lane will go and the pool will be highlighted (picture below).

It is also possible to add the lane into the first lane by placing the cursor inside the lane. This time, it will be the lane that will be highlighted.
How to reorganize lanes
To modify the order of the lane into a pool, the easiest way is to use the keyboard arrows. On an horizontal pool, select the lane and use the key arrow up to move the lane before the lane above it and the arrow key down to move it after the lane under it. On a vertical pool, you can use the right and left arrows to move the lanes.
You can also reorganize the lanes by moving them with the mouse. You will see a shadow to represent where the lane will go. To move it under another lane, make sure the ghost shows under it.
