SCIM configuration with Azure Active Directory
-
Login to Azure portal as an administrator of Azure Active Directory
-
Go to Azure Active Directory
-
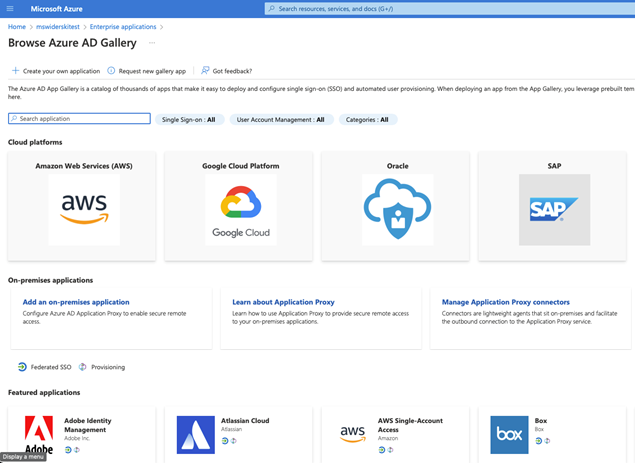
Navigate to Enterprise applications
-
Click on New application
-
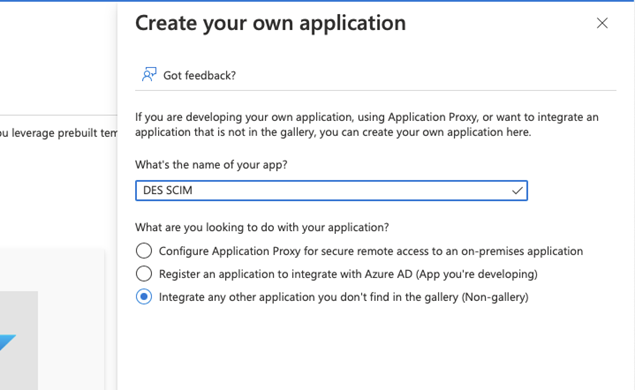
Click on Create your own application
-
Click the Create button and wait for the application to be created
-
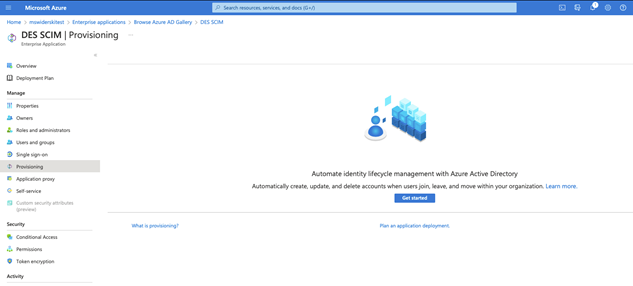
Once the application is created navigate to Provisioning in the menu
-
Click on Get started button to configure integration
-
Select Automatic as provisioning mode
-
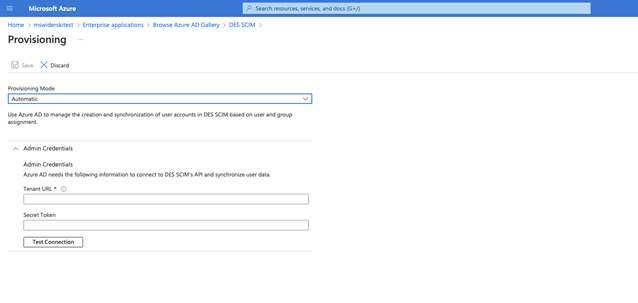
Provide admin credentials that will be used to connect to DES SCIM endpoints.
-
Tenant URL – this is the Base URL SCIM integration section
-
Secret token – this is the Authorization token from the SCIM integration
-
-
Click on Test connection and once successful click Save.
Once connectivity to DES has been configured, the SCIM integration is ready to be used. There might be additional needs to configure the following . User and group attribute mapping . Scope filters
User and group attribute mapping
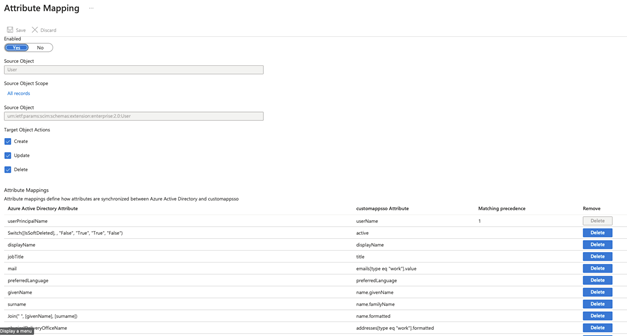
Azure Active Directory SCIM integration comes with default mapping of AAD attributes to SCIM attributes which in many cases could be good enough but there might be situations where additional fine-tuning is required.
This can be done in Enterprise Application → Provisioning sections. Click on Edit user and group attribute mapping. This will open the configuration page for provisioning and allow altering mapping for users and groups in the Mappings section.
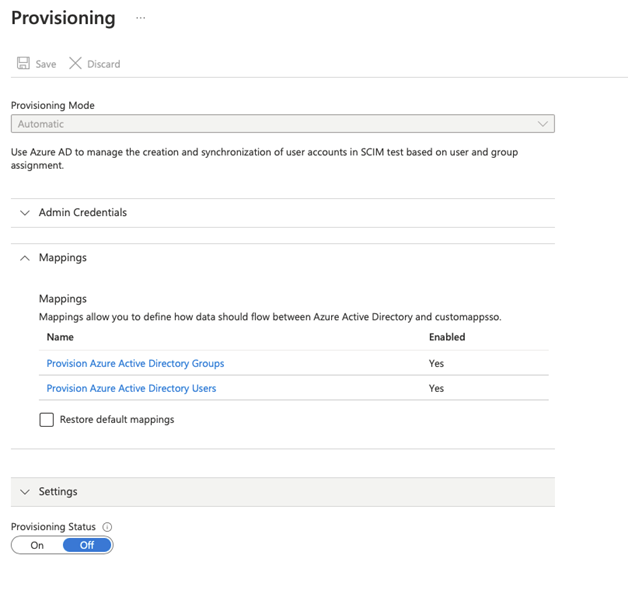
Click on either Provision Azure Active Directory Groups or Provision Azure Active Directory Users to modify the default mapping.
Scope filters
Scope filters is an additional configuration option that allows to control what users and groups are subject for provisioning. By default, users and groups assigned to application are automatically provisioned. Though this can be modified to provision all users and groups of the AAD.
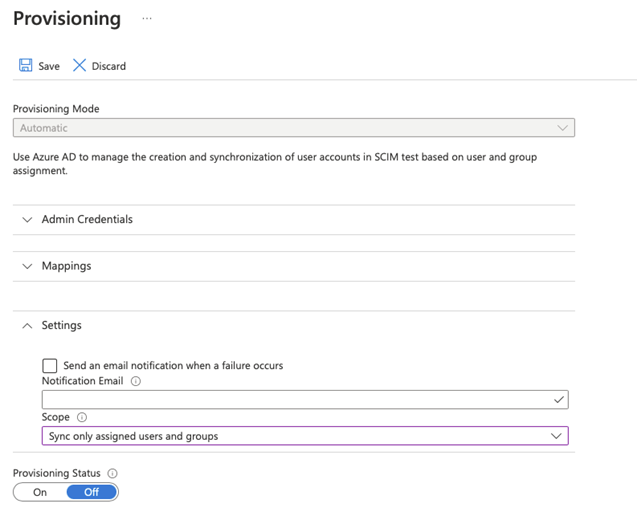
It is recommended to use Sync only assigned users and groups option as it allows for better control over who and what is provisioned.