Connectors
Connectors side panel is accessible using the icon in the top right of the interface.
Connectors panel allows to select operations and events to integrate with extrernal systems or components via various protocols: https, kafka, amqp and more.
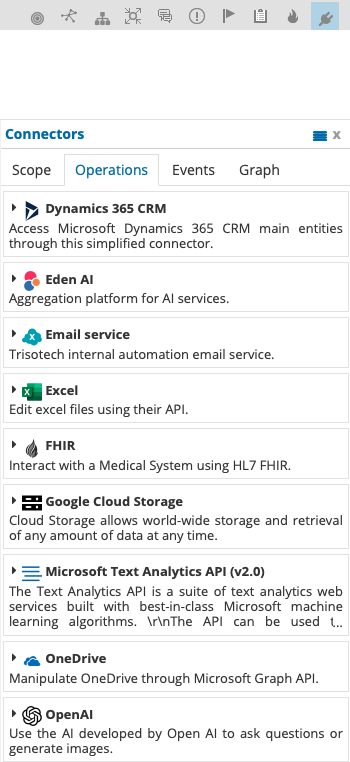
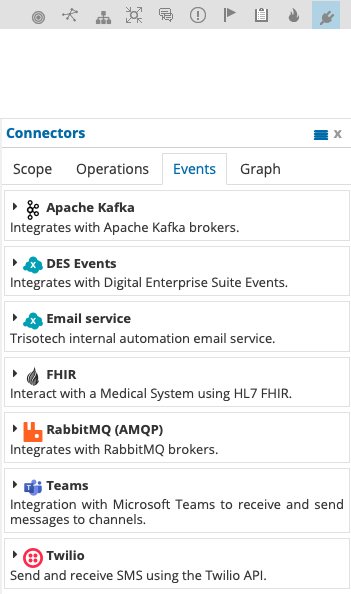
Operations vs Events
Operations are expected to be based on request/reply integration pattern while Events are based on one way integration (send message or receive message).
From BPMN perspective, Operations are modeled as Service Tasks and events are modeled as Message Events (catch and throw) or Send/Receive Tasks.
Operations are always initiated from the model, as they are request reply and as such will block while waiting for response from the external system.
Events can be either initiated from the model (send event) or model can be triggered on incoming event (receive event).
Operations are managed by Operation library and Events are managed by Event library. In both cases, there are templates that can be imported into the model.
Templates can be completely or partially populated with configuration data. Among most common configuration data that might be missing are:
-
host name
-
address (that can be queue name, topic name, etc)
-
security settings - what type of security given connector is based on
| Whenever importing template into a model, it’s recommended to inspect its interface and operation panels to see if all required attributes are set. |
Panel sections
The connector side panel consists of four sections:
-
Scope
-
Operations
-
Events
-
Graph
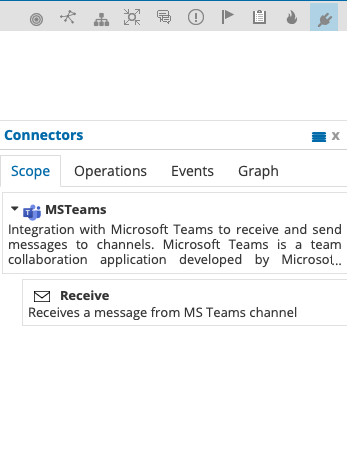
Scope
The scope section lists all connectors already imported into the current model. They might not yet been assigned to any of the task/event. By simply, drag and drop, user can use given operation or event as part of the workflow.
Operation/Events usage
Operation and events can be used to create a new shape or to be assigned to existing shapes.
Drop on canvas
When dragging from Connectors panel on the canvas, the following shapes will be created:
-
Operation -
Service task -
Event - receive -
Start message event -
Event - send -
End message event
Start and End Message events can be changed to intermediate events.
Drop on shape
It is also possible to assign an operation or an event to Tasks and Events by dragging the connector on existing shapes.
-
dropping Operation on top of task creates
Service task -
dropping Event - receive on top of task creates
Receive task -
dropping Event - send on top of task creates
Send task -
dropping Event - receive on top of catching event creates a
Message event -
dropping Event - send on top of throwing event creates a
Message event
Manual assignment
Assigning operation/event can also be done manually by selecting task/event type and selecting the connectors (interface) and operation via
-
Attributes → Catch eventfor receive message events -
Attributes → Throw eventfor send message events -
Attributes → Receive taskfor receive events -
Attributes → Send taskfor send events
Best practices
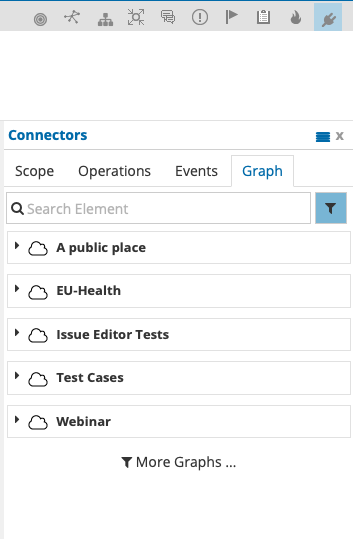
When using connectors, especially from templates, it’s a good practice to use business related names instead of technology the connector is based on. This promotes simpler reusability across models and makes it easy to discover via Digital Enterprise Graph.
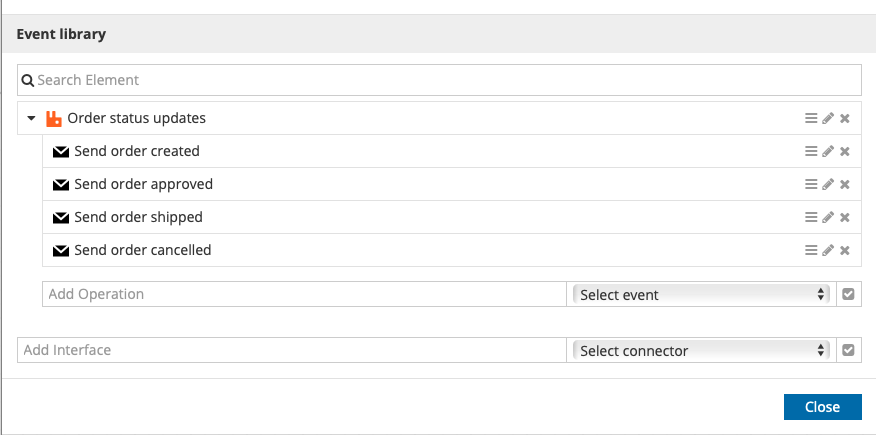
Example:
When there is a need to send order updates via RabbitMQ connector, user could import RabbitMQ template and name it Order status updates at the interface level.
Then depending on what status of the order is being sent (usually it will go to different queues) it will have following operations
-
send order createdoperation that sends event toORDERS.CREATEDqueue -
send order approvedoperation that sends event toORDERS.APPROVEDqueue -
send order shippedoperation that sends event toORDERS.SHIPPEDqueue -
send order canceledoperation that sends event toORDERS.CANCELLEDqueue
The events library would look like this
In case, there is another model, that needs to send order status updates, already configured events can be easily found in the Graph tab by searching with send order phrase.