Diagram View
Most modeler offers the ability to create diagrams based on a notation that is different for each modeler (BPMN, CMMN, DMN, …).
The diagram view offers a classic mouse and keyboard interaction with the graphical shapes:
-
A single click on a shape select only this shape.
-
Clicking outside of a shape and dragging to create a selection box selects all the shapes completely inside the selection box on the mouse click release.
-
Ctrl-clicking on a shape adds it to the current selection if it was not already selected or removes it from the selection if it was already selected.
-
When a selection is active, clicking and dragging one of the selected shapes will move all of the selected shapes in that direction.
-
When a selection is active, using the keyboard arrows will move the selected shapes in that direction. Holding the ctrl key at the same time moves by one pixel.
-
Right-clicking on a shape brings up its contextual menu.
The diagram represents two types of shapes: nodes and links. Links are used to connect two shapes together and typically will not be valid (colored red) if they are not connected on either end.
Controlling the view
At the bottom right of a diagram, the zoom controls are available

It indicates the zoom factor, there is a zoom scale that can be interacted with the mouse or using the plus and minus buttons. Finally, two buttons offer to zoom to 100% ( ) or zoom to fit the model (
 ).
).
The zoom functionalities are also exposed under the View ribbon. Additionally, under the View ribbon, more advanced controls can be found:
Gridlines |
Control the presence of grid lines in the background of the diagram. |
Snap to grid |
Control if the mouse snaps to the grid lines when moving and creating shapes. |
Snap to guidelines |
Control if the mouse snaps to guide lines when moving a shape. Guide lines snaps to the neighboring nodes center to facilitate the alignment with other nodes when moving. |
Palette
On the left side, a palette offers the different shapes that can be dragged onto the diagram canvas to create new shapes.
When dragging a shape, a feedback is displayed to inform if the shape can be dropped at a given location.
Dropping a node on an link will automatically create space if there is not enough space available.
Pages
At the bottom of the diagram canvas, a page selector is available to change the current diagram currently being displayed.

Using the button, it is possible to create new diagrams for the model.
Pages can be renamed or deleted by right-clicking on them.
The navigation arrow on the left can be used to scroll the page bar when all pages cannot be shown. They will get enabled as required.
To quickly go to a page, you can right click on the navigation arrow on the left or use the "All" option on the right.
If there are ten or more pages, clicking the "All" option will directly open the page selection dialog. From this dialog, you can search for a specific page and select it to open.

Search
At the right of the ribbon bar, there is a search bar where typing the name of an element brings up an overlay that displays the top search results. Selecting one of the results highlights the element in the diagram. If required, the current page is also changed to find the element. Searching by tag is possible by typing "#" followed by the tag name. Elements with tags starting with the entered text will be displayed.
Spacer
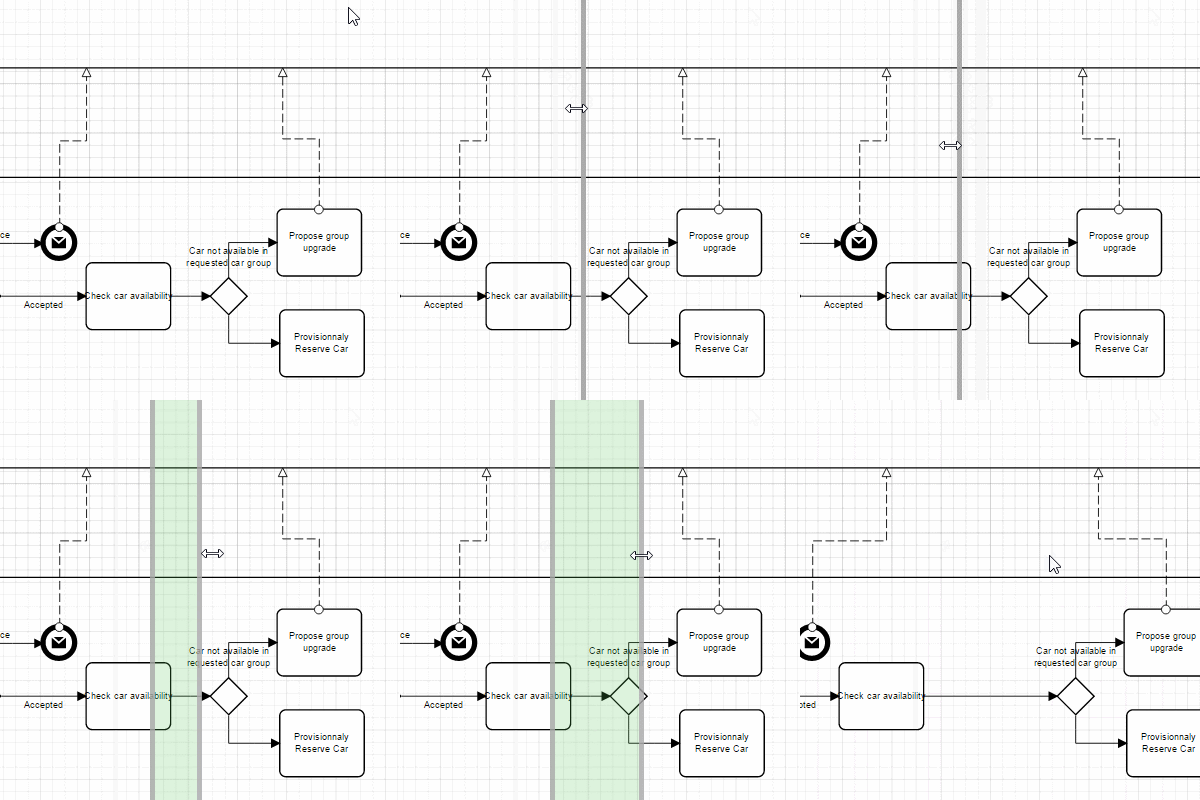
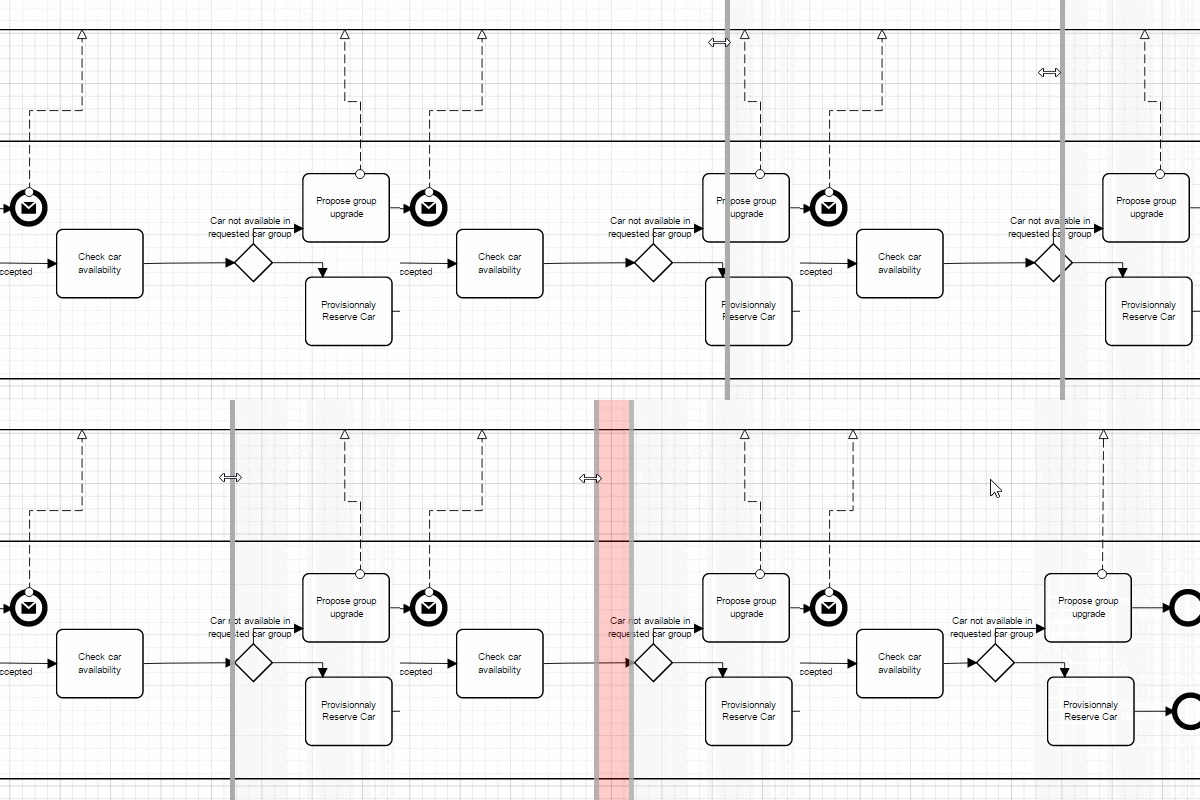
To create space on the diagram, under the Home ribbon a horizontal (  ) and a vertical (
  ) buttons are available. These spacers can be used to create or remove space in a diagram by dragging the spacer tool on one side or another.


Diagram size
To resize the diagram canvas size, mouse over at one of the edges of the canvas and two arrows will appear ( / ). Clicking on the arrow buttons will expand or collapse the diagram canvas drawable area.
Selection
The Home ribbon offer operations to manipulate the shape selection.
|
Select all the shapes on the current diagram. |
|
Clears the selection. |
The Home ribbon also offers operations to manipulate selected shapes.
|
Align nodes based on a defined size to the first node in the selection. |
|
Resize all selected nodes to the size of the first node in the selection. |
|
Create a virtual group that makes selecting one node in the group select all other nodes of the group. |
|
Ungroup a previously created group. |
|
Bring your shape(s) forward if they are overlapping with other shapes or bring them completely to the front. |
|
Send your shape(s) backward if they are overlapping with other shapes or send them completely to the back. |
Smart arrows
When selecting a single node, 4 smart arrows will appear on each side of the node ( ).
Clicking on a smart arrow connects with the appropriate type of link (based on the current notation) to a close shape in that direction. If no shape is close in that direction, it will create a new node of a default type (based on the current notation) in that direction.
Hovering on a smart arrow displays a quick pick menu with different shapes that can be created in that direction (based on the current notation). Clicking on one of the shapes will create that shape in the arrow direction. Clicking and dragging (without releasing) allows to control the creation location of the new shape.
Clicking and dragging (without releasing) the smart arrow will start drawing a link from the shape that you can connect to a target shape. Based on the target shape, the link will be converted to the best possible link based on the current notation.


